Showing posts with label 3D. Show all posts

Thursday, October 7, 2010

Pick your poison


Cute little hand sanitizer holders, I used the 3 pack of hand sanitizers that you can buy for a dollar at dollorama or most great Canadian dollar stores, I don't have a bath and beauty store or whatever it is called that the person in the tutorial used in my city, on the positive, just use the largest oval punch, you don't have to do the fanagleing like the tutorial-no disrespect intended. I think I might wrap some matching Halloween DSP around the hand sanitizer bottle.
Colours used are old olive, basic black, pumpkin pie, the DSP is SU ????it's from last year and the year before
Tutorial can be found here

Saturday, August 28, 2010

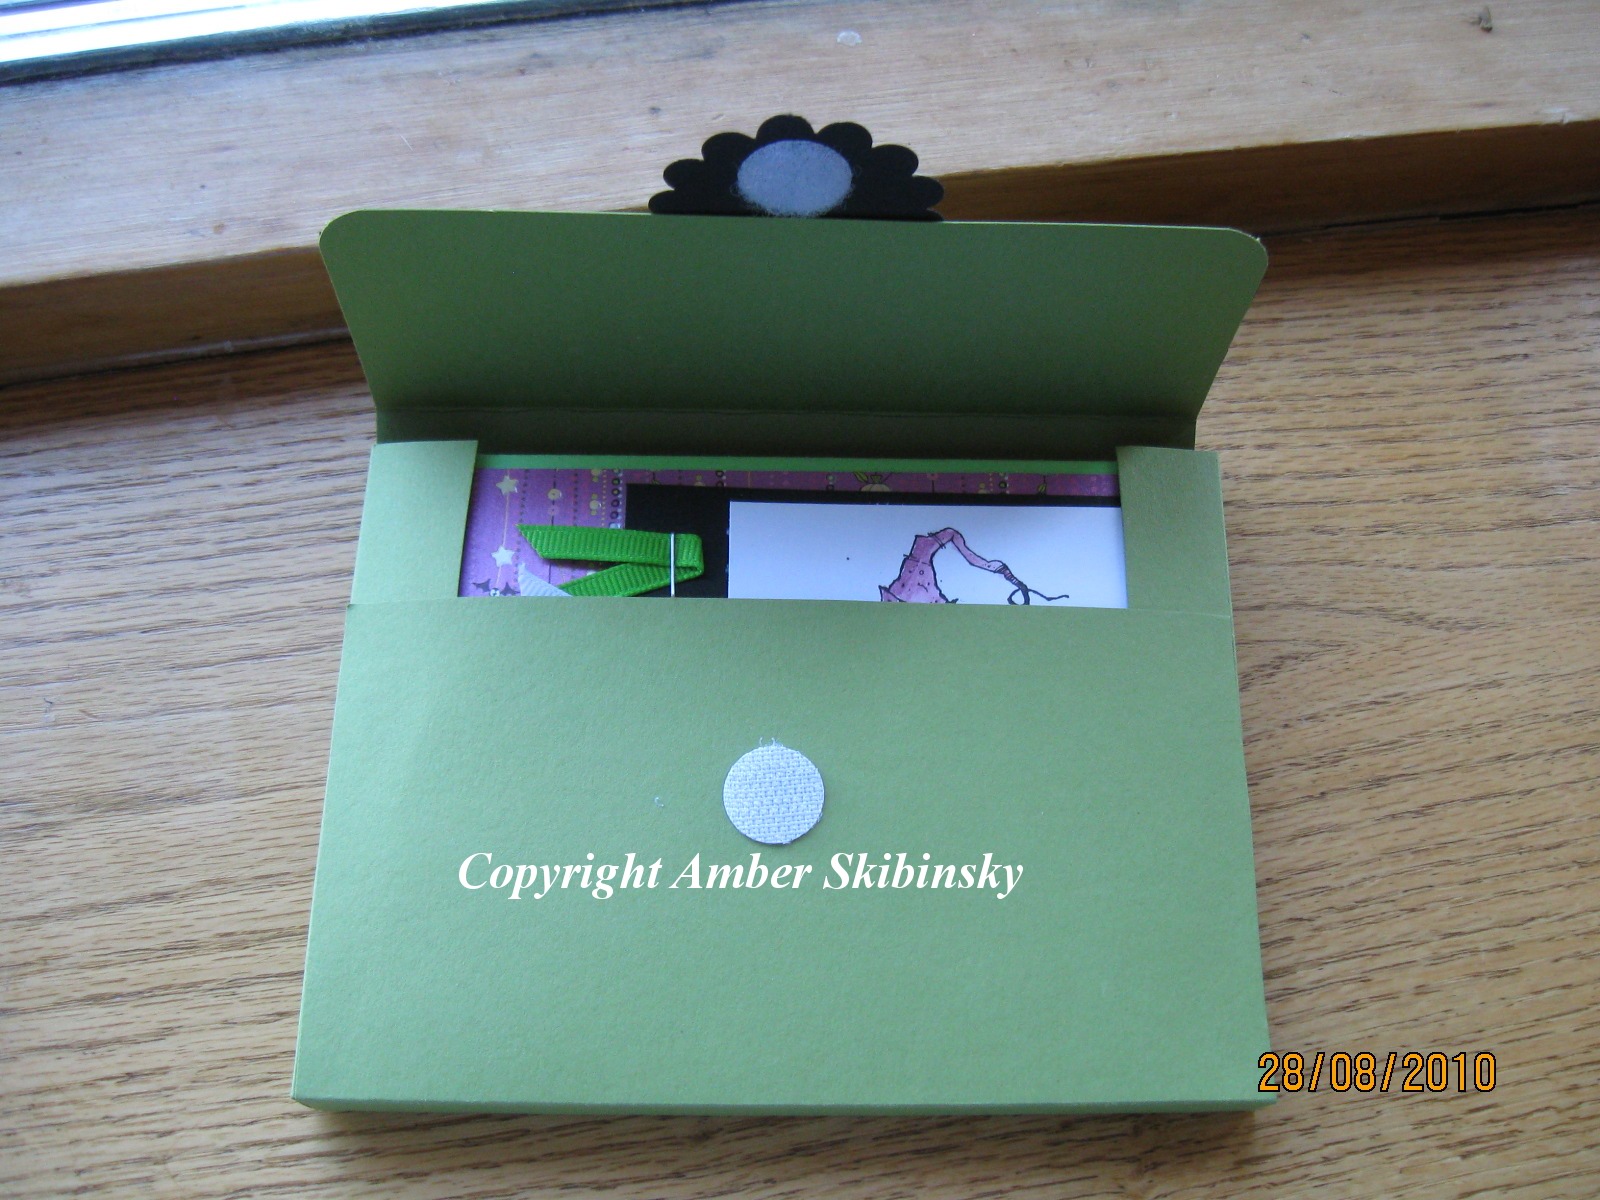
Card box

I don't normally post 2 in a day but I lost the instructions for this card holder and just came across them so I am going to post so I can give you the link . This is a perfect little gift to give someone filled with cards. That is where this one is going. It is filled with Halloween cards.

The box was made with old olive card stock, the DSP is last year's Cast a spell by SU. I used the scallop trim border with basic black card stock. The bat is from SU's Batty for you. The tutorial can be found here


Saturday, June 26, 2010

Scallop flowers


These flowers seem to be pretty popular lately so I thought that I would try them out and I love em.
All supplies SU unless noted.
Card base is Early espresso, with a whisper white base. I stamped the leaves from a retired set called "Best blossoms" in early espresso. The DSP of course can't remember, but the card stock is Baja breeze. Used the scallop trim punch to make a border and then some no namey white ribbon.
Now to make the flowers, punch out 5 scallop pieces of any DSP that you like, now line them up in a stack and using a cropadile punch a hole in the middle of them, this will be for the brad. Once you have your hole punched, crumple up all of them individually, layer them again and put a brad through the middle to keep them all together, and there is your flower.


Thursday, May 20, 2010

Another purse


Found a purse made out of a brown paper lunch bag...tres cool. The link for the tutorial can be found here.
I tried to follow the dimensions she gave but it wasn't working for me so I just eyeballed up my card stock against the lunch bag and cut.
All supplies SU unless noted.
Mat colours are pumpkin pie and melon mambo. I used Razzleberry DSP.
Ribbon is no name and the stamp I used was from circle circus.

Tuesday, March 30, 2010

Easter Bunny

What a sweetie eh? Another copy cat, I am sure you have figured it out that I don't have any original ideas. There really isn't a tutorial for this it is kind of self explanatory. The box is a 2-5-7-10 box (tutorial here ) which I made and cut down, punched the edges with the new SU punch,
and folded over. I made my small circles using the 2 different hole punches on the crop a dile
I am going to fill with grass and a few Easter treats.

Sunday, March 7, 2010

Paper purse


Fab purse I came across, I emailed the lady who made it and she kindly emailed me the template.
The link to her site is here.

Friday, February 19, 2010

Photo cube

I bought a "block" on sale. It was made out of chipboard. I covered it with various papers and now need to fill with photos and embellies.

All supplies SU unless noted

Rainbow Sherbert DSP, Apricot appeal, green galore and tempting turquoise.


Sunday, February 7, 2010

Mail box

I have had a couple of the tin mail boxes laying around and thought I would attempt to make one pretty. It was a but frustrating, with some trial and error it was actually quite easy. I think I am going to give this to my son's teacher. They will be making valentine boxes for there exchange and so I thought I would make one for the teacher.


I just measured the box and cut the proper width x 12". I semi figured out where the flag was and took a 1/2" circle punch a punched a hole, then slid the DSP over the flag.

I used Sending Love DSP from SU, chocolate chip grosgrain ribbon, and Mod Podge.


Tuesday, January 26, 2010

Valentine Card


Valenines day is just around the corner, I came across these ideas and thought they rocked. All supplies SU unless noted.


Base of card is pretty in pink, all the DSP is from the new SU mini is Sending Love. Other colours I used are real red, very vanilla, and chocolate chip.
I used both tag punches, and the 3 trio flower punch
The tutorial for the tag card can be found here , scroll down a bit)
The tutorial for the envelope can be found here

Saturday, January 9, 2010

Valentine Tic Tac Toe


I bought some of these metal tins from the SU! clearance rack, didn't know what to do with them so I looked on Splitcoaststampers. It's not an idea that I came up with, but thought that it rocked, making a tic tac toe board that can travel with you, someone also made up a matching game to, see end of post for these examples.
All supplies Stampin Up! unless noted.
The tic tac toe DSP is real red from a level 1 pack from a couple years ago, I used my Xyron to make it all sticky and adherred, then drew a grid.
The DSP used on the outside is from We R Memory Keepers and it's called "Darling", again adhered it to the tin with the Xyron, then sanded down the edges, put on a coat of Modge Podge
I used my Crop a dile to punch holes in the tin, and threaded through some real red grosgrain ribbon.
My game pieces are real red & regal rose, I used the new stamp set, i {Heart} Hearts, and the punch heart to heart, laminated them, and then glued on a piece of magnet. Of course I made a Spiderman one too
Splitcoast examples here example1, example2,

Saturday, December 12, 2009

Desk box


I made these to put on a desk and fill with paper clips etc. Here is the link to the tutorial here
All supplies are SU unless noted
Card stock is old olive and not quite navy, DSP is Urban Garden, don't know where I got the chip board letters and then used aquamarine stickles.

Sunday, October 18, 2009

Purse/box


Ladies, please, please, hold the applause. I haven't blogged in a bit as I needed to find just the right project. I have been invited to vendor at the Forestry Farm on November 15th for the Saskatoon Kinettes's craft fair, there will be other vendors, like purses, jewellry what not. Come check it out 11-3. I am making some of these little boxes to sell there, I hope they do well, here is the link for the tutorial here
I used SU Cottage Wall DSP

Tuesday, September 29, 2009

Album in a box


I discovered this album in a box quite awhile ago, I just couldn't find the link for the directions, I have made a few of these and they are awesome, I made a Harley Davidson one for a wedding gift, unfortunately I gave it away before I took pictures. Here is the link for instructions here.
Just click on album in a box. I used the paper Bali breeze.

Sunday, September 20, 2009

Toilet paper roll scrapbook


Long time no blog, ha ha ha, well up for your viewing pleasure today is a little scrap album made out of toilet paper tubes, that's right folks TOILET PAPER TUBES. As usual this is not my original idea, something I stumbled upon. Isn't this rockin, I think I say that about alot of things.
All supplies SU unless noted
I took 3 empty toilet paper rolls and flattened the heck out of them, a bone folder works great for this.
I cut my patterned paper 4" x 5.5" (your rolls might differ) and ran a few rows of sticky strip down it,. adhered to toilet paper roll.
After papering all your rolls, and decorating as you see fit, using a crop a dile and jumbo eyelets, put an eyelet at the end of one side, this is how they fit on the ring.
Now eyeball up some coordinating card stock and make your inserts and decorate.

Tuesday, September 15, 2009

Punch monsters


Busy time a year, got the boy in Preschool, swimming, all the fun stuff. These are some Halloween punch monsters, not my original idea, just stuff I have come across. You can put a peppermint chocolate underneath and give out for Halloween.

Tuesday, April 21, 2009

Altered lunch tins


I'm baaaack (in creepy poltergeist voice). I had the week off for Easter break and spent it painting my daughters room. You won't see pics for awhile as I want to let the paint cure before I put up the decor elements.
Here are 2 of the tins I made for the golf tourney, all 4 are pretty much the same I just used the paper differently on all of them.
All supplies SU unless noted.
I bought the metal lunch tins from Micheal's, the paper is Darling Dots from SAB, certainly celery ribbon is from SAB as well, the blue ribbon is from WalMart, added some flowers and ribbon on the handle. These make great gifts when filled with cards and envelopes, I just made one for my niece for her birthday. A tutorial for the lunch tin can be found here.

Monday, February 9, 2009

Harley valentine


Just a quick post here, I took this picture in the laundry room, hiding from the hubby. This is what I made for him for Valentine's Day. He rides so we are sorta into Harley stuff.

Nugget tin from here

Peppermint patties, covered with only orange and basic black. The stamp is from Born to ride and a happy valentines. The bar and shields (for non Harley people-the orange stamp on belly band) is from a Harley stamp set by EK Success, ribbon from who knows where. The belly band is basic black and whisper white stamped in only orange.

Friday, February 6, 2009

Valentine's treats


Today must have been my lucky day. There was a water main break at work so I got to come home early, no kits, so time to craft. I jump from projects to projects, I ordered some nugget tins of the neat and have been making them like crazy. I am making some for my husband, guess what kind.....Harley Davidson of course. I am sure if you look at some of my other posts you will know I am into that kinda thing. I actually have a few people that are buying some off of me, kewl eh? I started gathering the tutorial together last night and have started to put it together so it is indeed coming.

Saturday, January 17, 2009

Chipboard book


There is not much left to do to finish off the chipboard book, you should have all of your pages assembled and ready to put the book together. I took a crop a dile, figured out where I wanted my holes, and punched them. If you don't own a crop a dile I really suggest you get one, they are awesome.

Thursday, January 15, 2009

Chipboard pages.


Hey peeps, I guess I should go back to the chipboard book eh? I choose to put my pages back to back to make it 1 page. Don't know if I said this before but when designing your pages keep in mind how many rings and where you want to place them as you will be using the crop a dile to punch holes through your pages. Make sure you put your pages back to back as you design them so you keep in mind the rings when placing ribbon, embellies etc. Then I just took double sided tape and taped the two of them together.